Hatching Guide
Hatching shipped eggs is its own unique experience, with a few extra steps to get the best possible hatch rates. This guide keeps it simple — covering everything from how to handle your eggs when they arrive, to incubator setup, humidity control, and what to expect as hatch day approaches. Whether you’re new to hatching or just looking for tips to improve your results with shipped eggs, this page will help you give your chicks the best possible start.
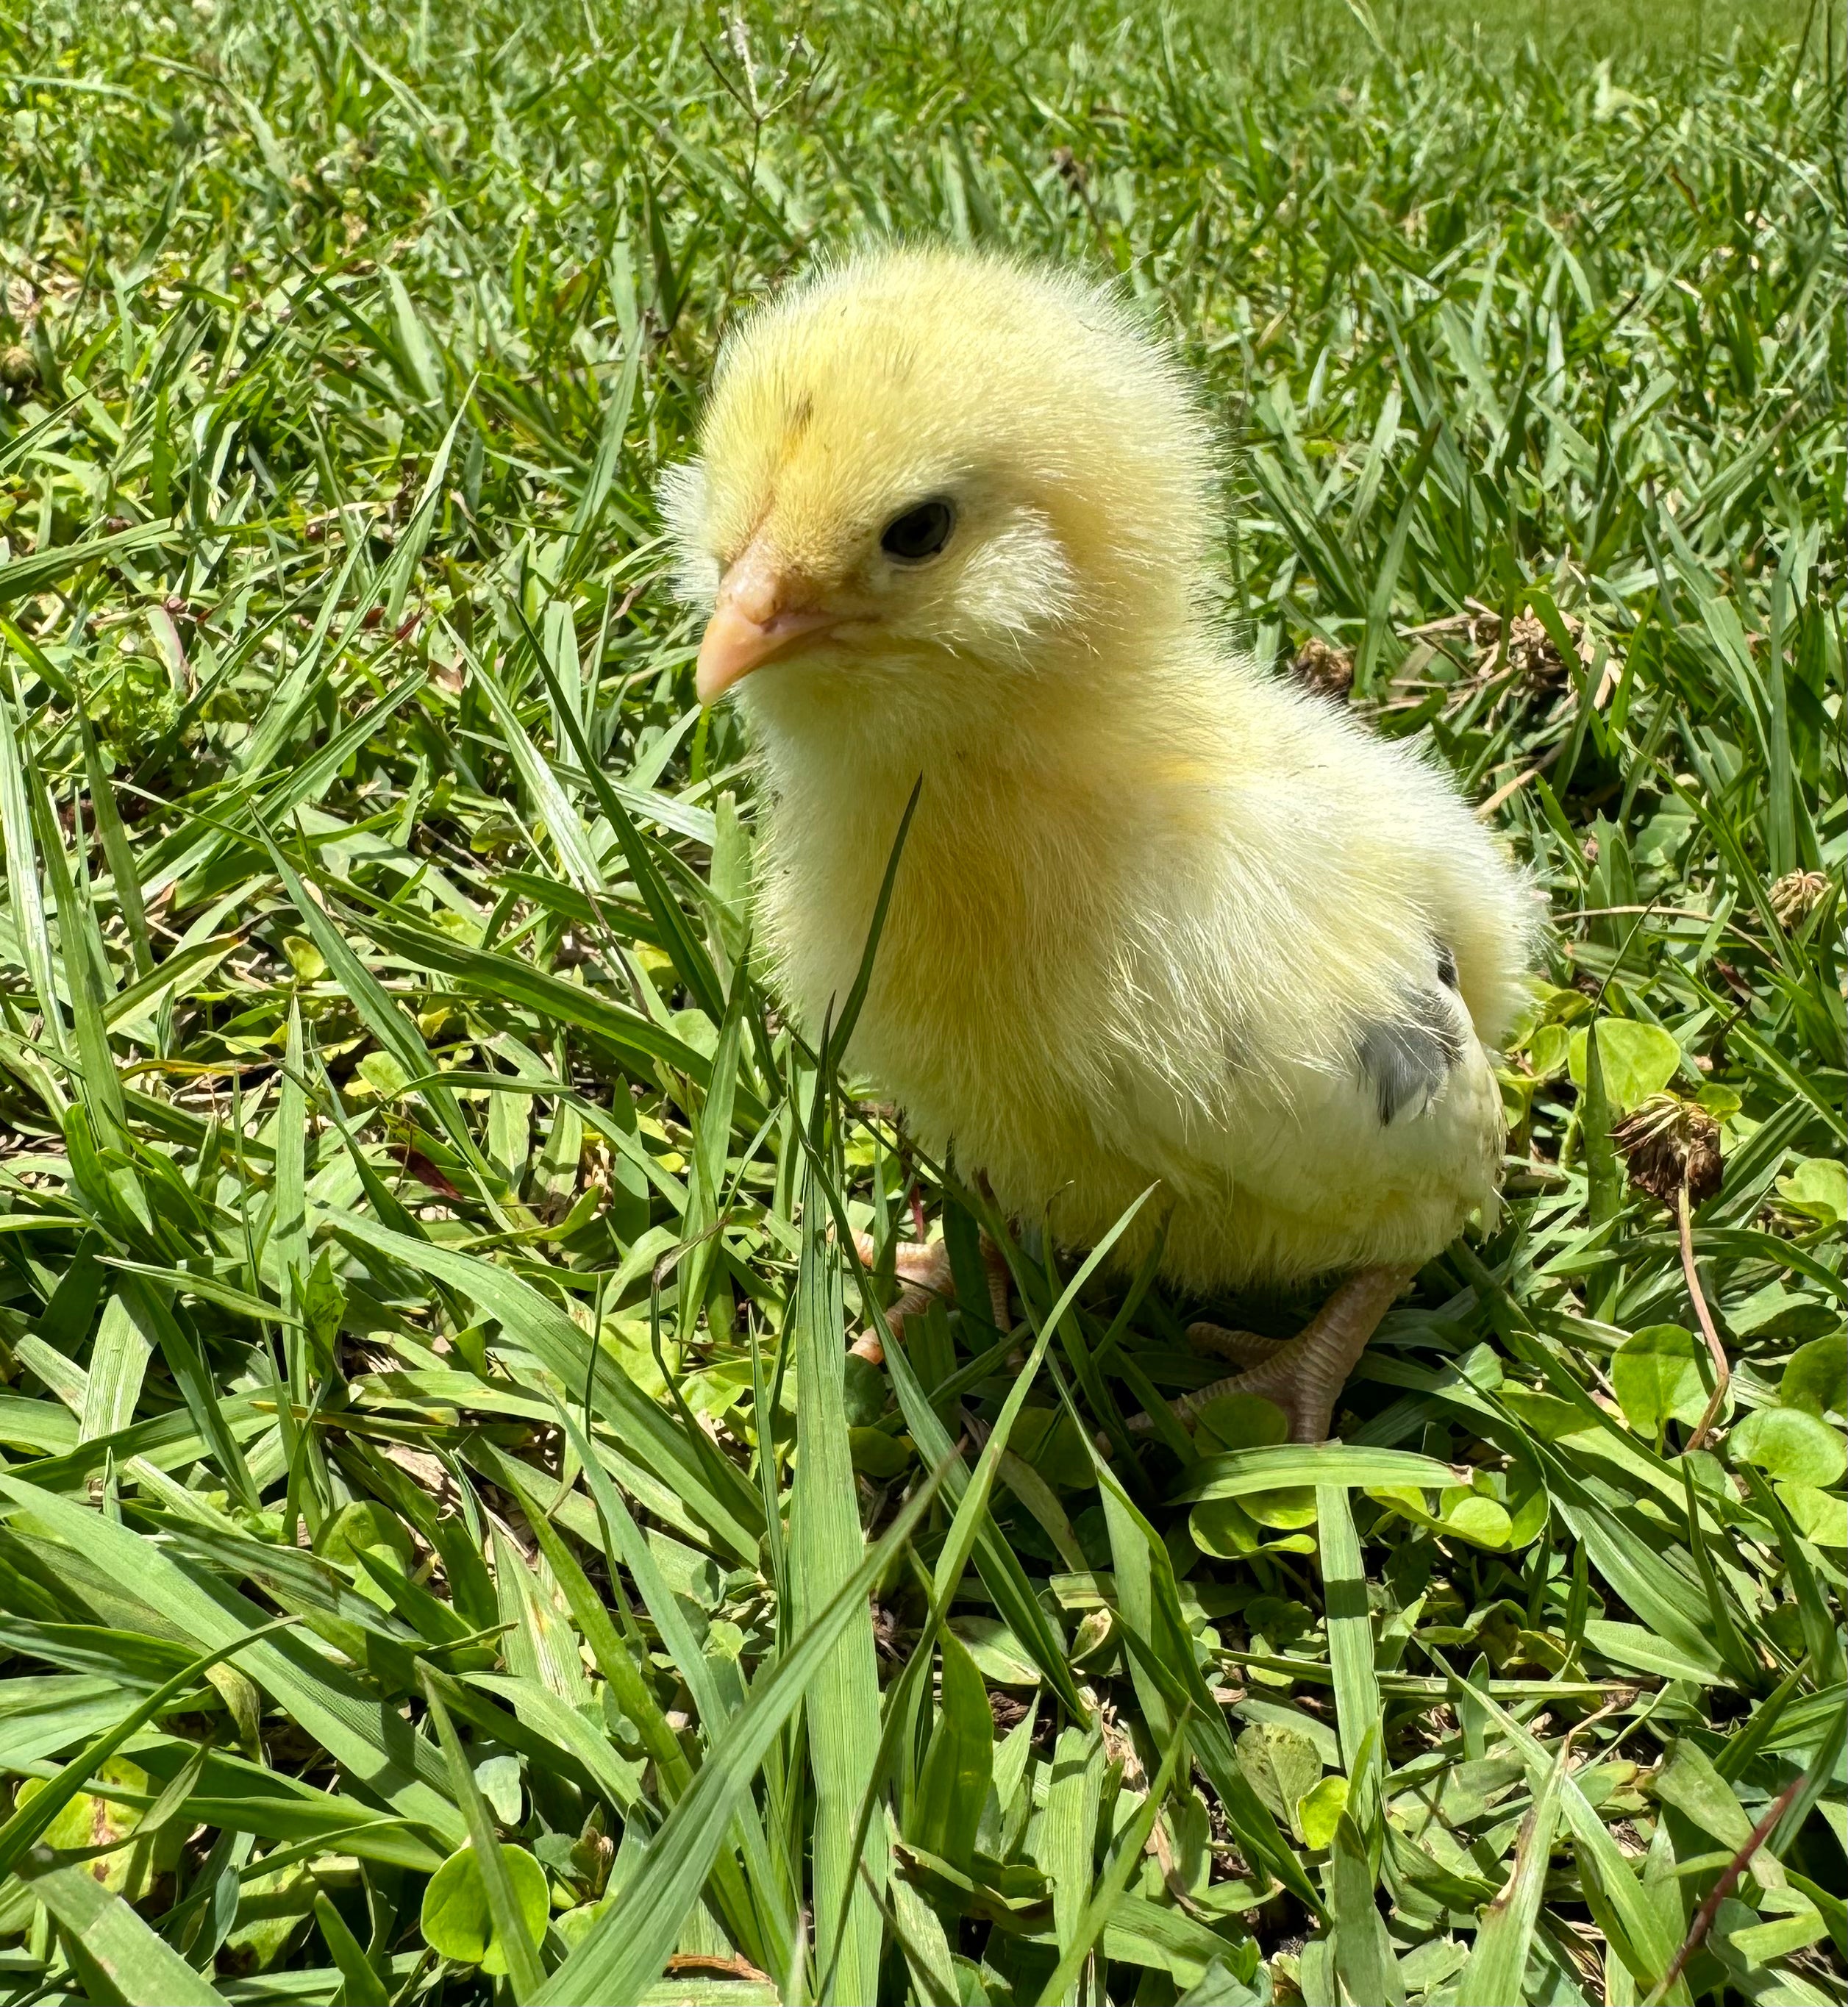
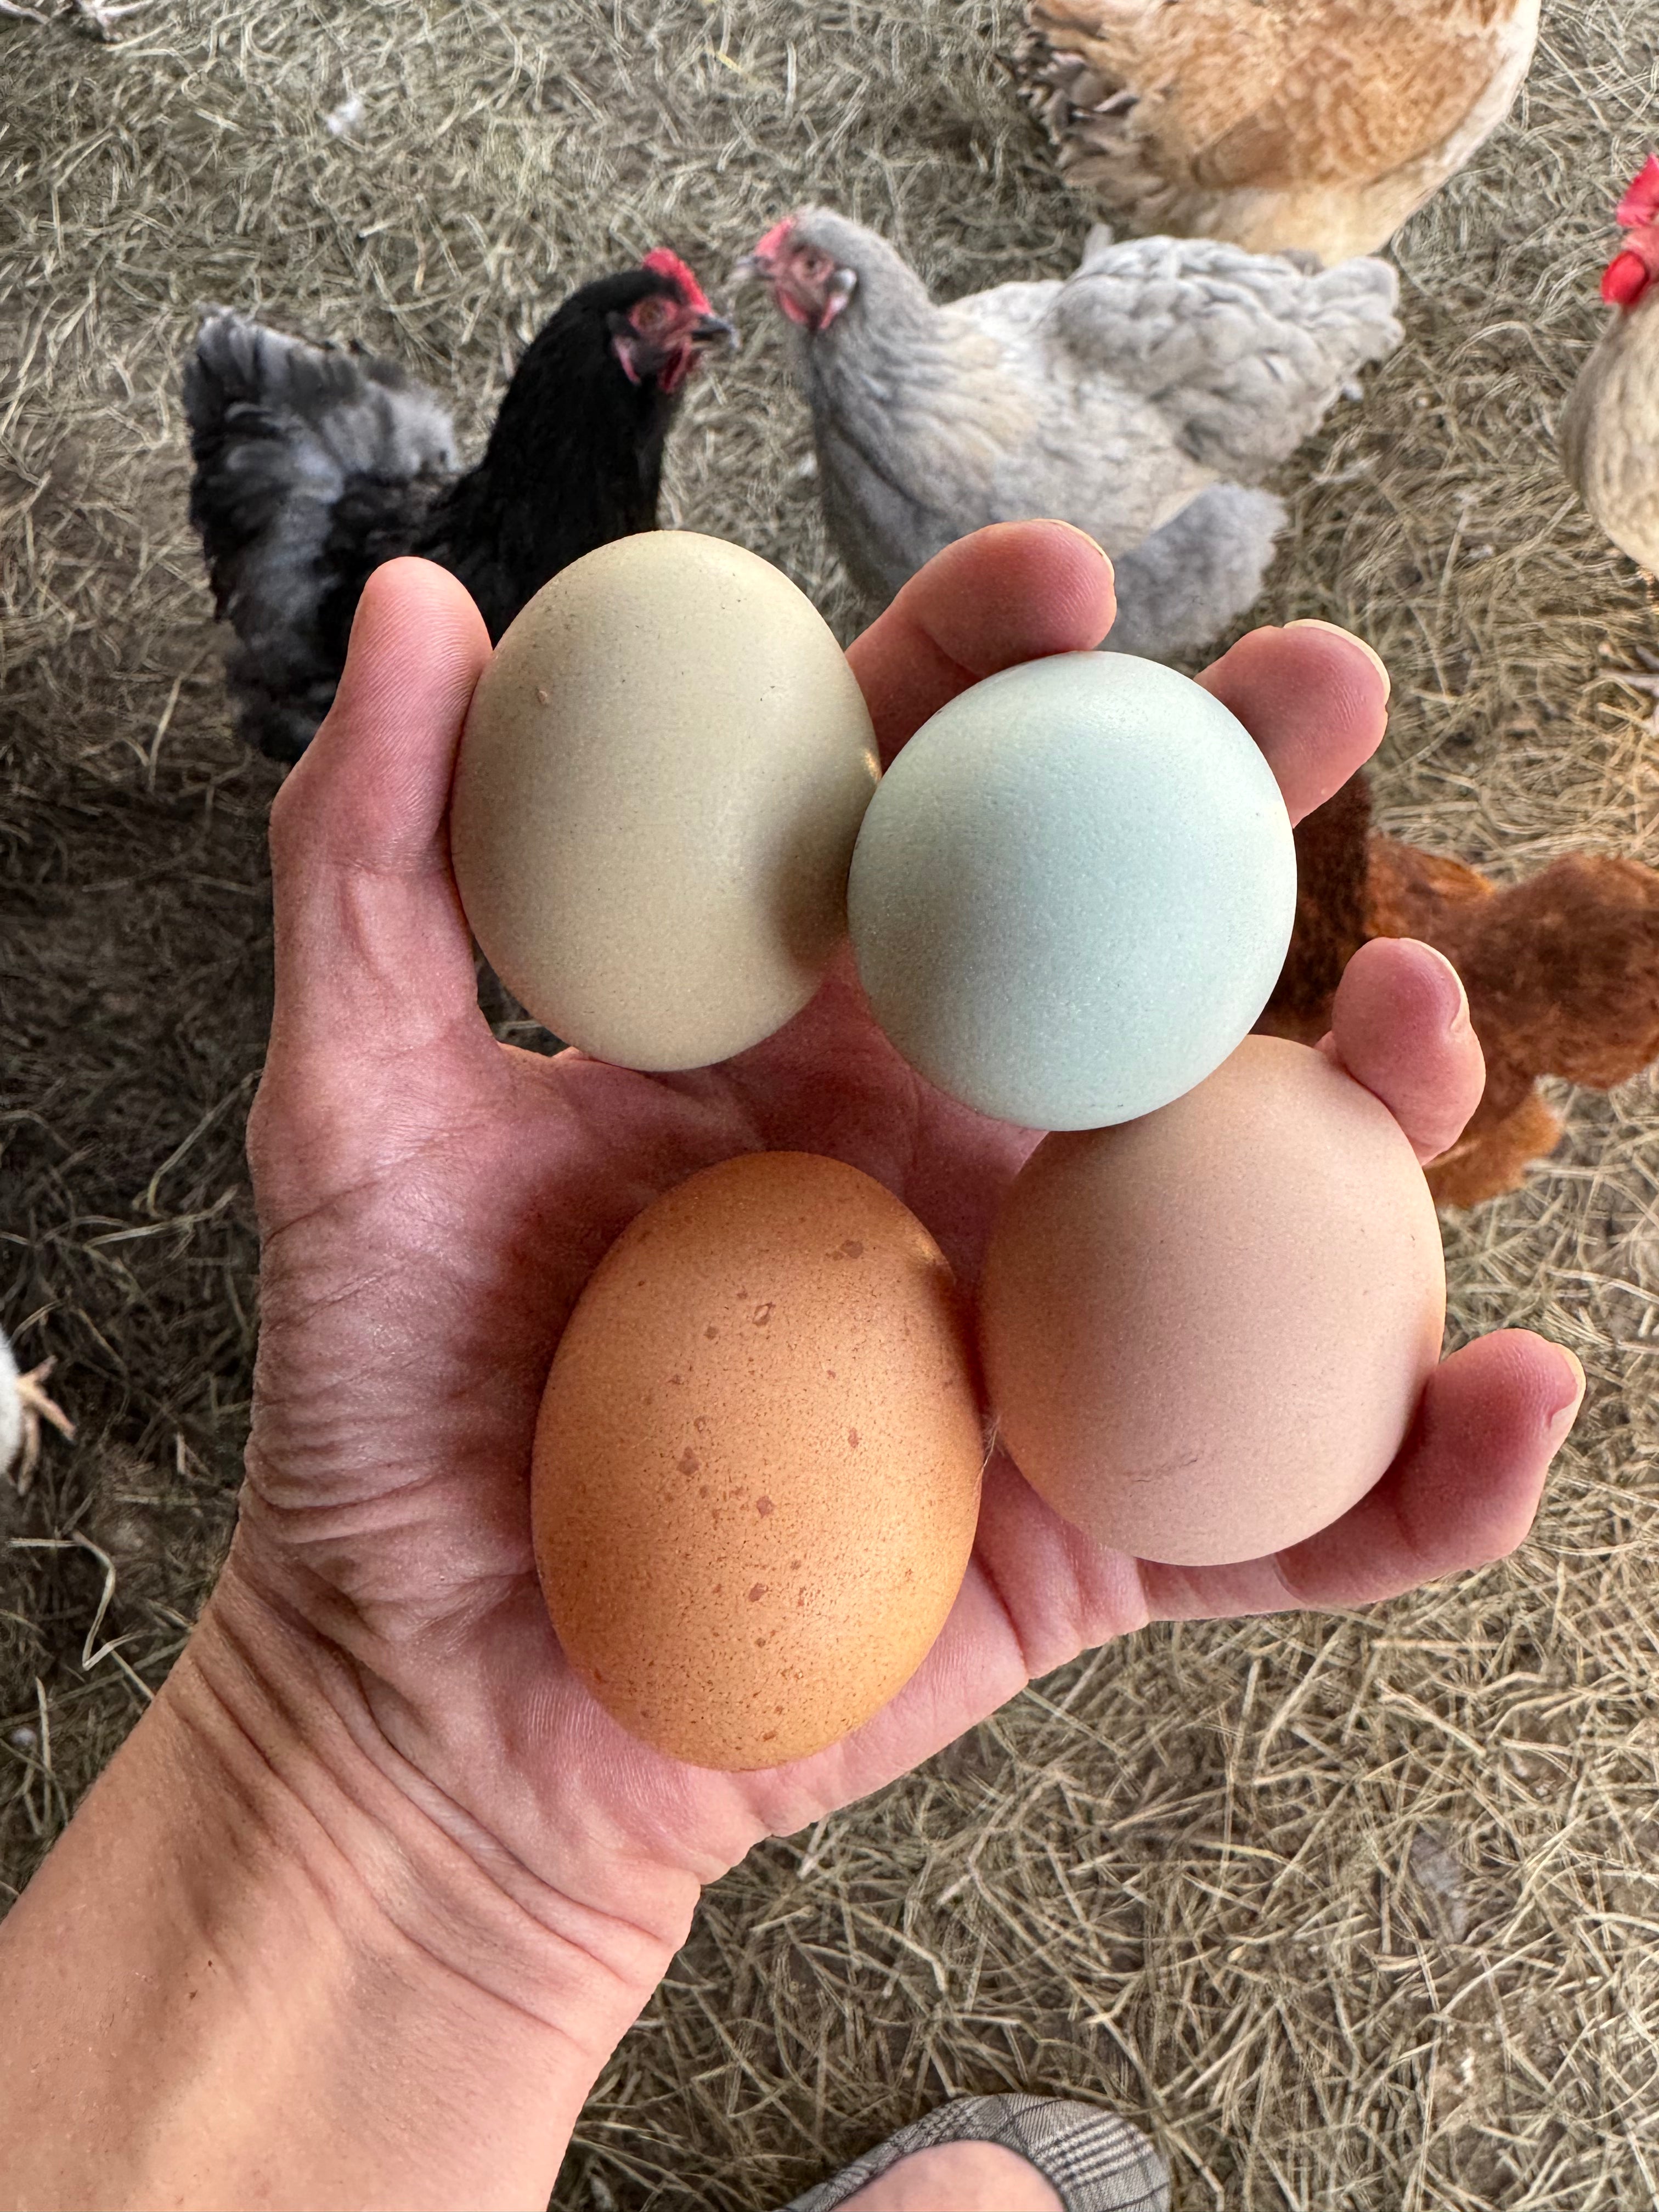
Hatching 101
Hatching Chicken Eggs
Embarking on the journey of hatching chicks is not only fascinating and thrilling but also surprisingly straightforward. Our comprehensive guide aims to demystify this process, ensuring that you can enjoy a fulfilling experience with ease. Let us simplify the steps for you, paving the way for an enriching adventure in chick hatching.
*Please note that we do not recommend using a broody hens with shipped eggs. Its always best to have consistent, temperature, humidity and controlled turning when attempting to hatch shipped eggs.
-
Temperature: 100F (37C)
Your incubator should be set to 100.0F (37.5C) and run for at least 24 hours prior to setting your eggs.
Place a secondary thermometer inside your incubator to ensure that it actually reads 100F. This allows you to identify any cold spots that may exist in your system and to calibrate your incubator.
Make sure your incubator is in a secure, draft-free location away from a window and sunlight.
-
Humidity (35-40%)
Humidity is the MAIN CAUSE of poor hatch rates. Setting your incubator at 35-40% allows your chicks to thrive without drowning in liquid from the humidity being too high.
At hatch, you can increase humidity to 50-60%. However, this should also happen naturally as the chicks begin to hatch. Expect humidity to rise to 70-80% during a hatch.
Always remember to KEEP IT SIMPLE.
-
Turning (1 turn per hour)
When your shipped eggs arrive, carefully unwrap each egg. Inspect it for cracks and breaks caused by shipping. These can often be repaired with glue.
Allow the eggs to rest (large end upwards) for up to 12 hours before candling and setting in your incubator. Please follow summer hatching instructions when temperatures are above 90 degrees in your area. Please follow winter hatching instructions when temperatures are below freezing in your area.
If your air sacks are wobbly or moving, during candling, its best to NOT TURN your shipped eggs for the first week, instead place in the bottom of your incubator in an egg carton.
Always remove the turner prior to hatch.
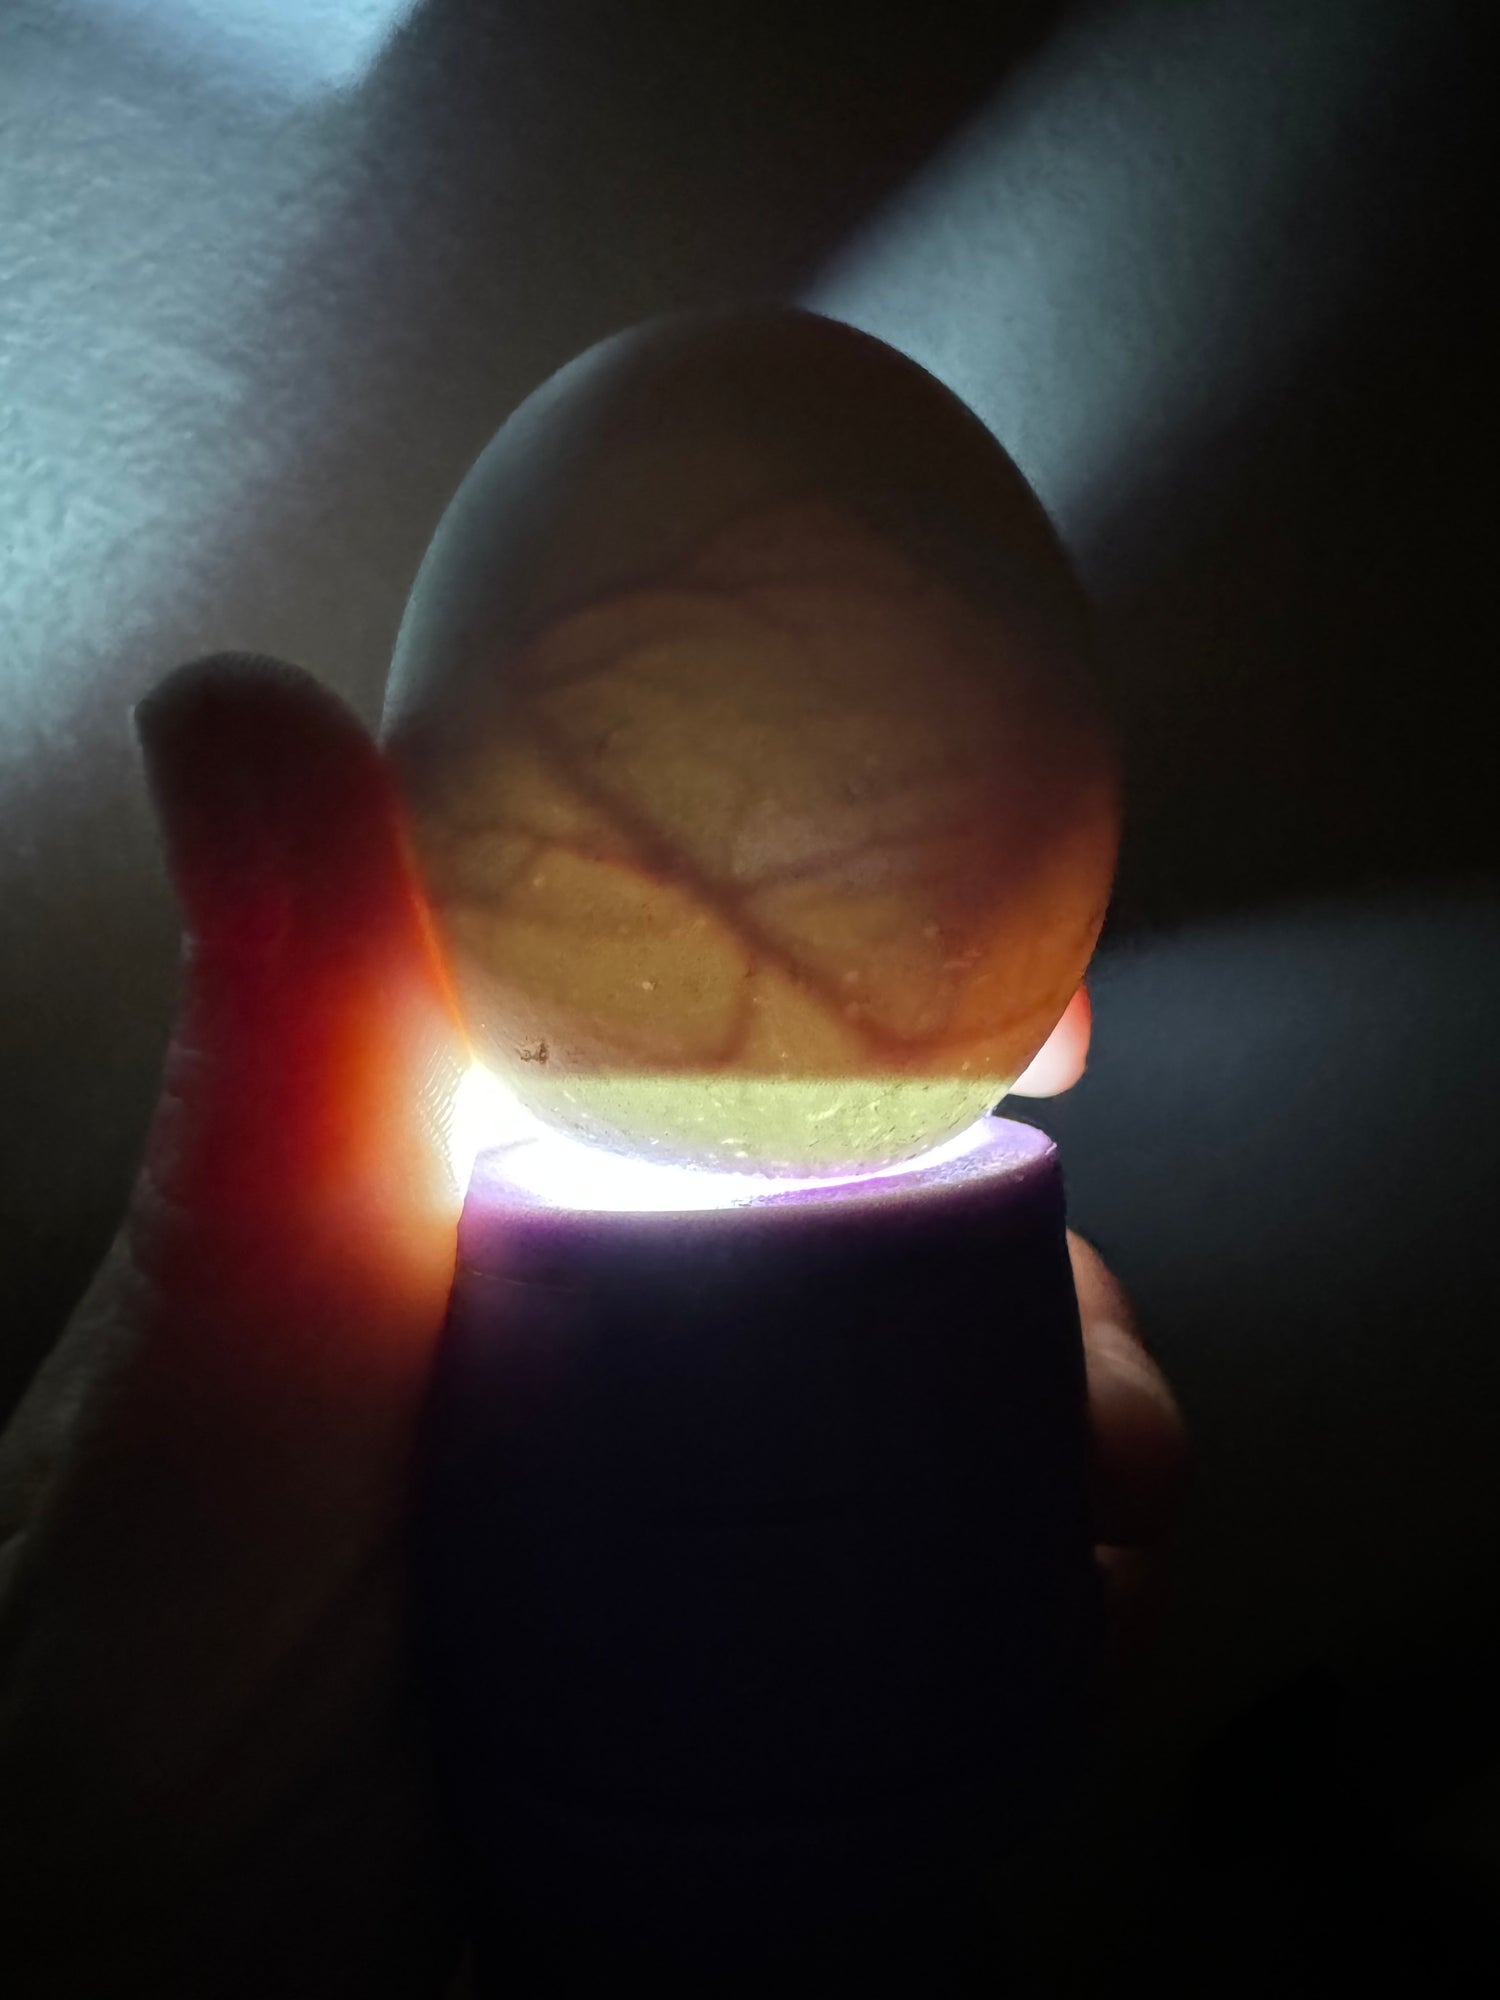
Candling your eggs
We recommend candling your shipped eggs no earlier 10 days and candle them again prior to setting them for hatch. Removing them excessively from the incubator, in order to candle, can reduce the hatch rate. Keep it simple.
Summer/Winter hatching
Summer: Hatching shipped eggs during the summer is its own unique experience. Luckily, USPS is well-versed in shipping sensitive items like candles and chocolates. However, there are still some opportunities for your eggs to become warm (and begin to incubate) during shipment.
To combat this problem it’s best to set your eggs, big end upwards, in the bottom of your incubator (without turning) for up to 72hrs. It is then safe to place your eggs into the turner.
Winter: During the winter and early spring, shipped eggs will produce the absolute best hatch rates possible. Shipping eggs during the winter, is much easier than in the summer heat. Allow your eggs to warm up to room temperature and settle the air sacks (big end upwards) for up to 12 hours prior to placing into the incubator.
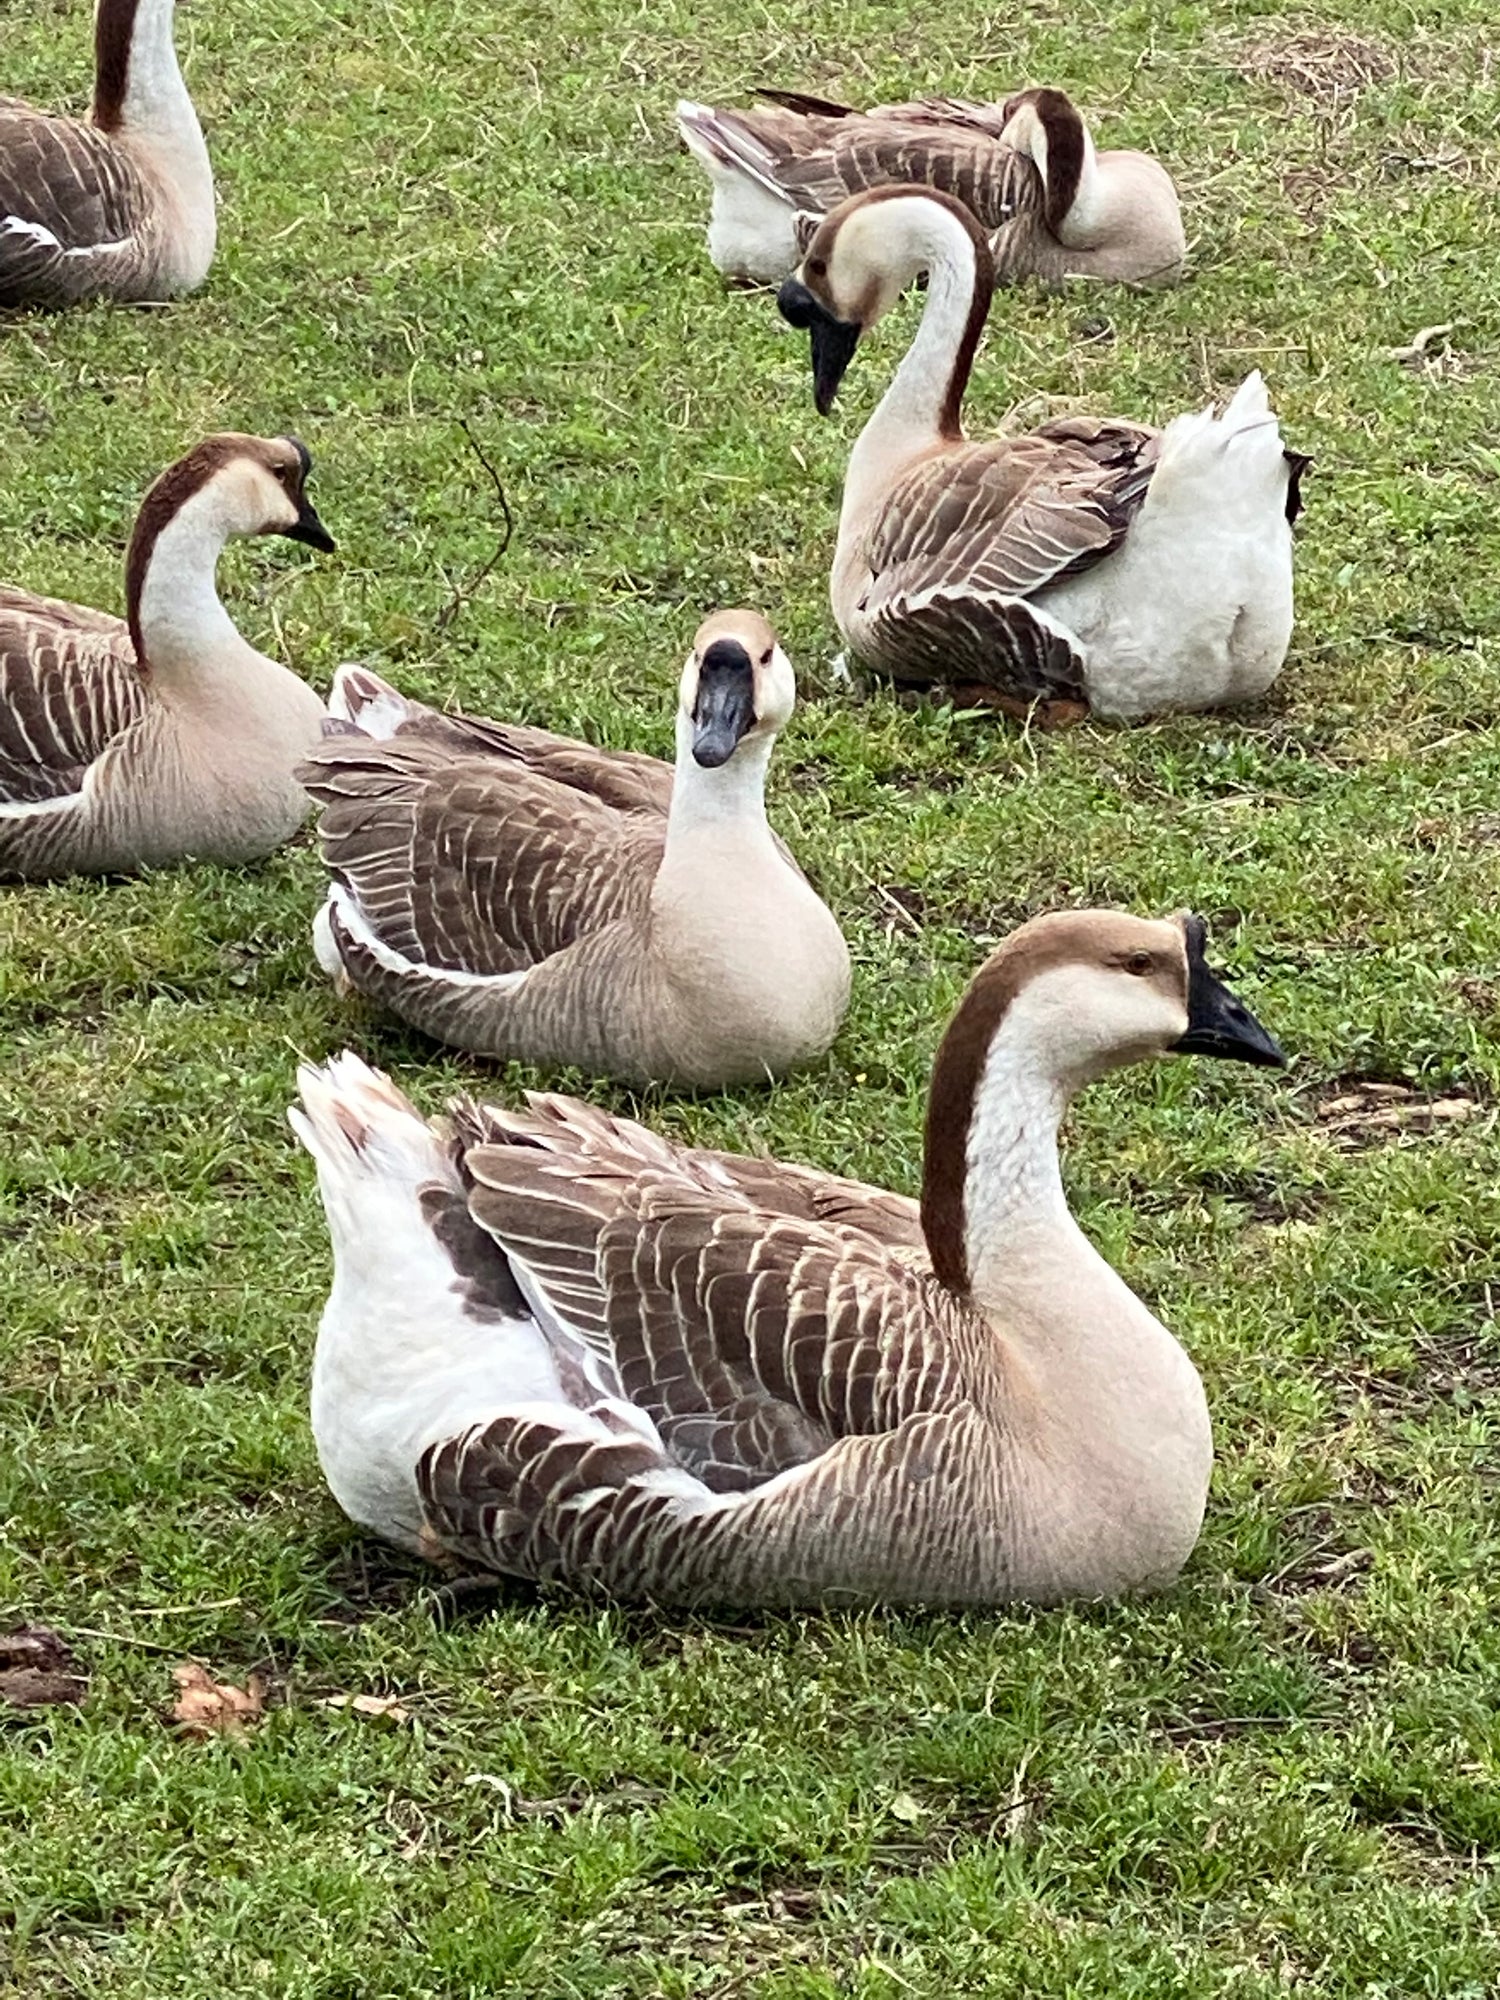
Hatching our Waterfowl (Ducks, Geese, Call Ducks)
Hatching waterfowl is a fascinating and fulfilling experience, but it comes with its own set of challenges. Unlike chickens or other land-dwelling birds, waterfowl like ducks and geese are adapted to life in and around water, which means their eggs require higher humidity levels during incubation. This extra moisture mimics the natural conditions created by a mother duck or goose, who often brings water back to the nest on her feathers after her daily swim. Maintaining proper humidity is crucial to ensure the eggs don’t dry out and the chicks develop correctly. As hatching day approaches, higher humidity also helps soften the shell, making it easier for the waterfowl to break through and make their grand entrance into the world!
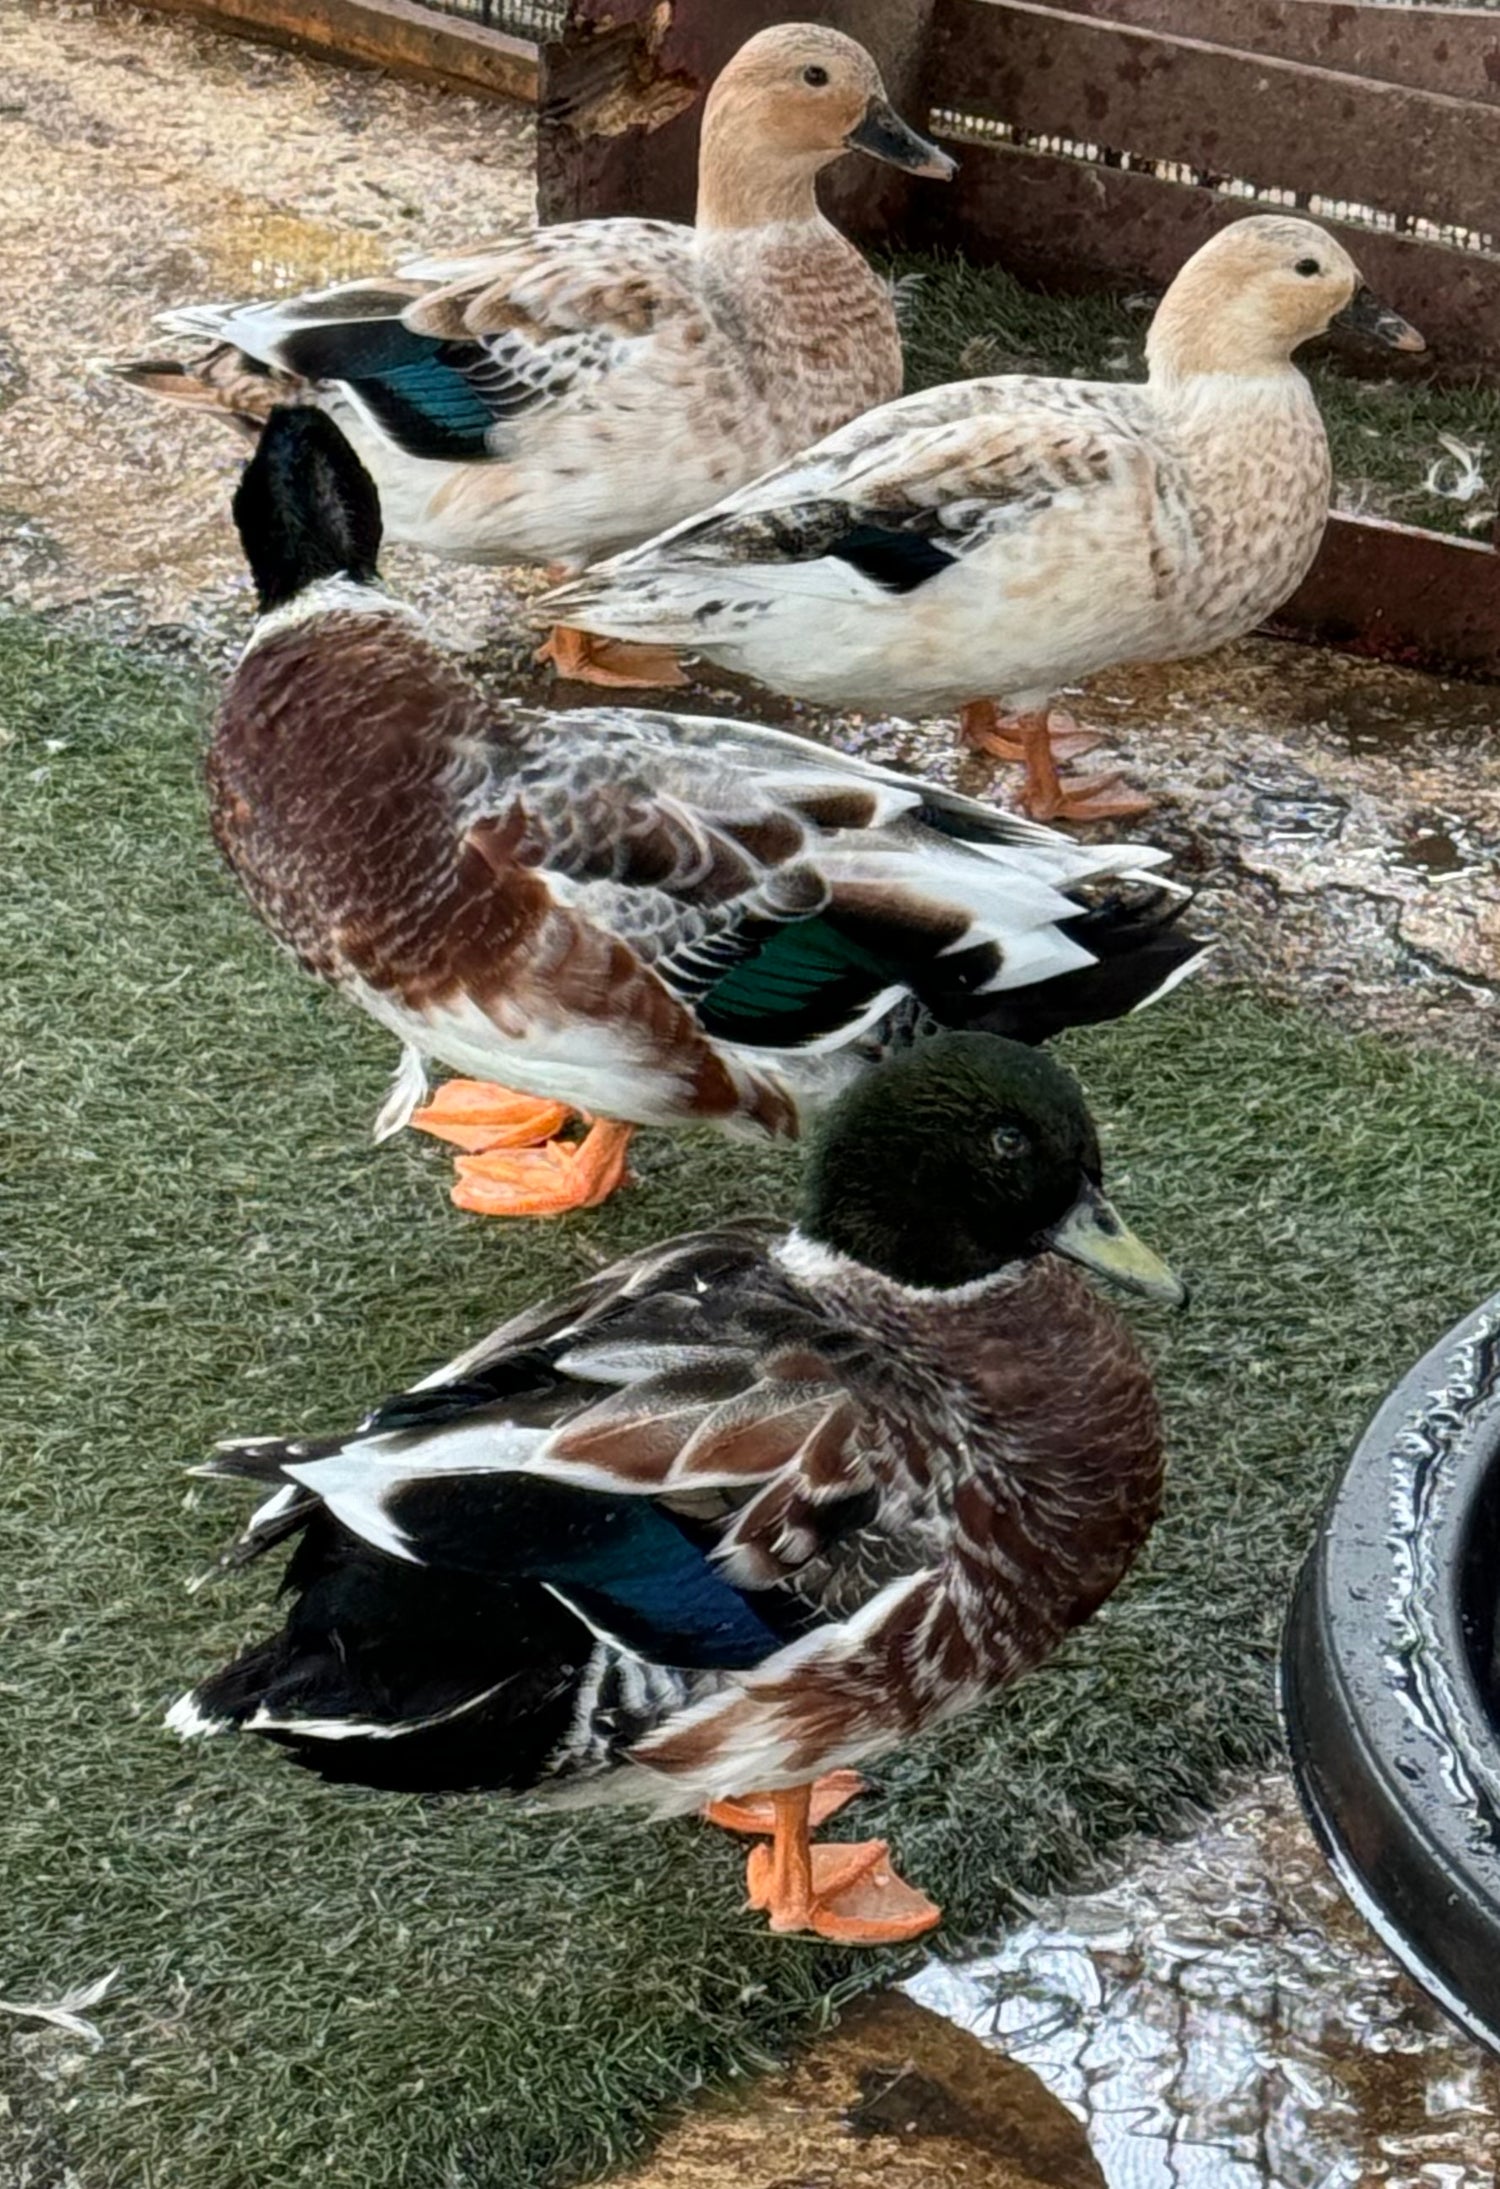
Incubation lengths vary for waterfowl
- Domestic Ducks: 28 days (lockdown on day 25)
- Call Ducks: 26-27 days (lockdown on day 23)
- African Geese: 30-32 days (lockdown on day 25*** IMPORTANT)
-
Temperature: 100F (37C)
Your incubator should be set to 100.0F (37.5C) and run for at least 24 hours prior to setting your eggs.
Place a secondary thermometer inside your incubator to ensure that it actually reads 100F. This allows you to identify any cold spots that may exist in your system and to calibrate your incubator.
Make sure your incubator is in a secure, draft-free location away from a window and sunlight.
-
Humidity (70%+)
- Hatching waterfowl requires higher humidity levels than other birds, typically set to 70% or more during incubation. This is because waterfowl eggs naturally lose moisture more slowly due to their thicker shells, and higher humidity helps maintain the right balance for proper development. If the humidity is too low, the eggs can dry out, making it harder for the embryos to grow and hatch successfully.
- As the hatch date nears, humidity should often be increased even further (around 80-85%) to soften the tough shells, ensuring the ducklings or goslings can pip and hatch more easily. Proper humidity is essential for creating the ideal conditions to mimic what their mother would naturally provide in the wild!
- Hatching waterfowl requires higher humidity levels than other birds, typically set to 70% or more during incubation. This is because waterfowl eggs naturally lose moisture more slowly due to their thicker shells, and higher humidity helps maintain the right balance for proper development. If the humidity is too low, the eggs can dry out, making it harder for the embryos to grow and hatch successfully.
-
Turning (1 turn per hour)
When your shipped eggs arrive, carefully unwrap each egg. Inspect it for cracks and breaks caused by shipping. These can often be repaired with glue.
Allow the eggs to rest (large end upwards) for up to 24 hours before candling and setting in your incubator.
If your air sacks are moving, during candling, its best to NOT TURN your shipped eggs for the first week.
Always remove the turner prior to hatch.
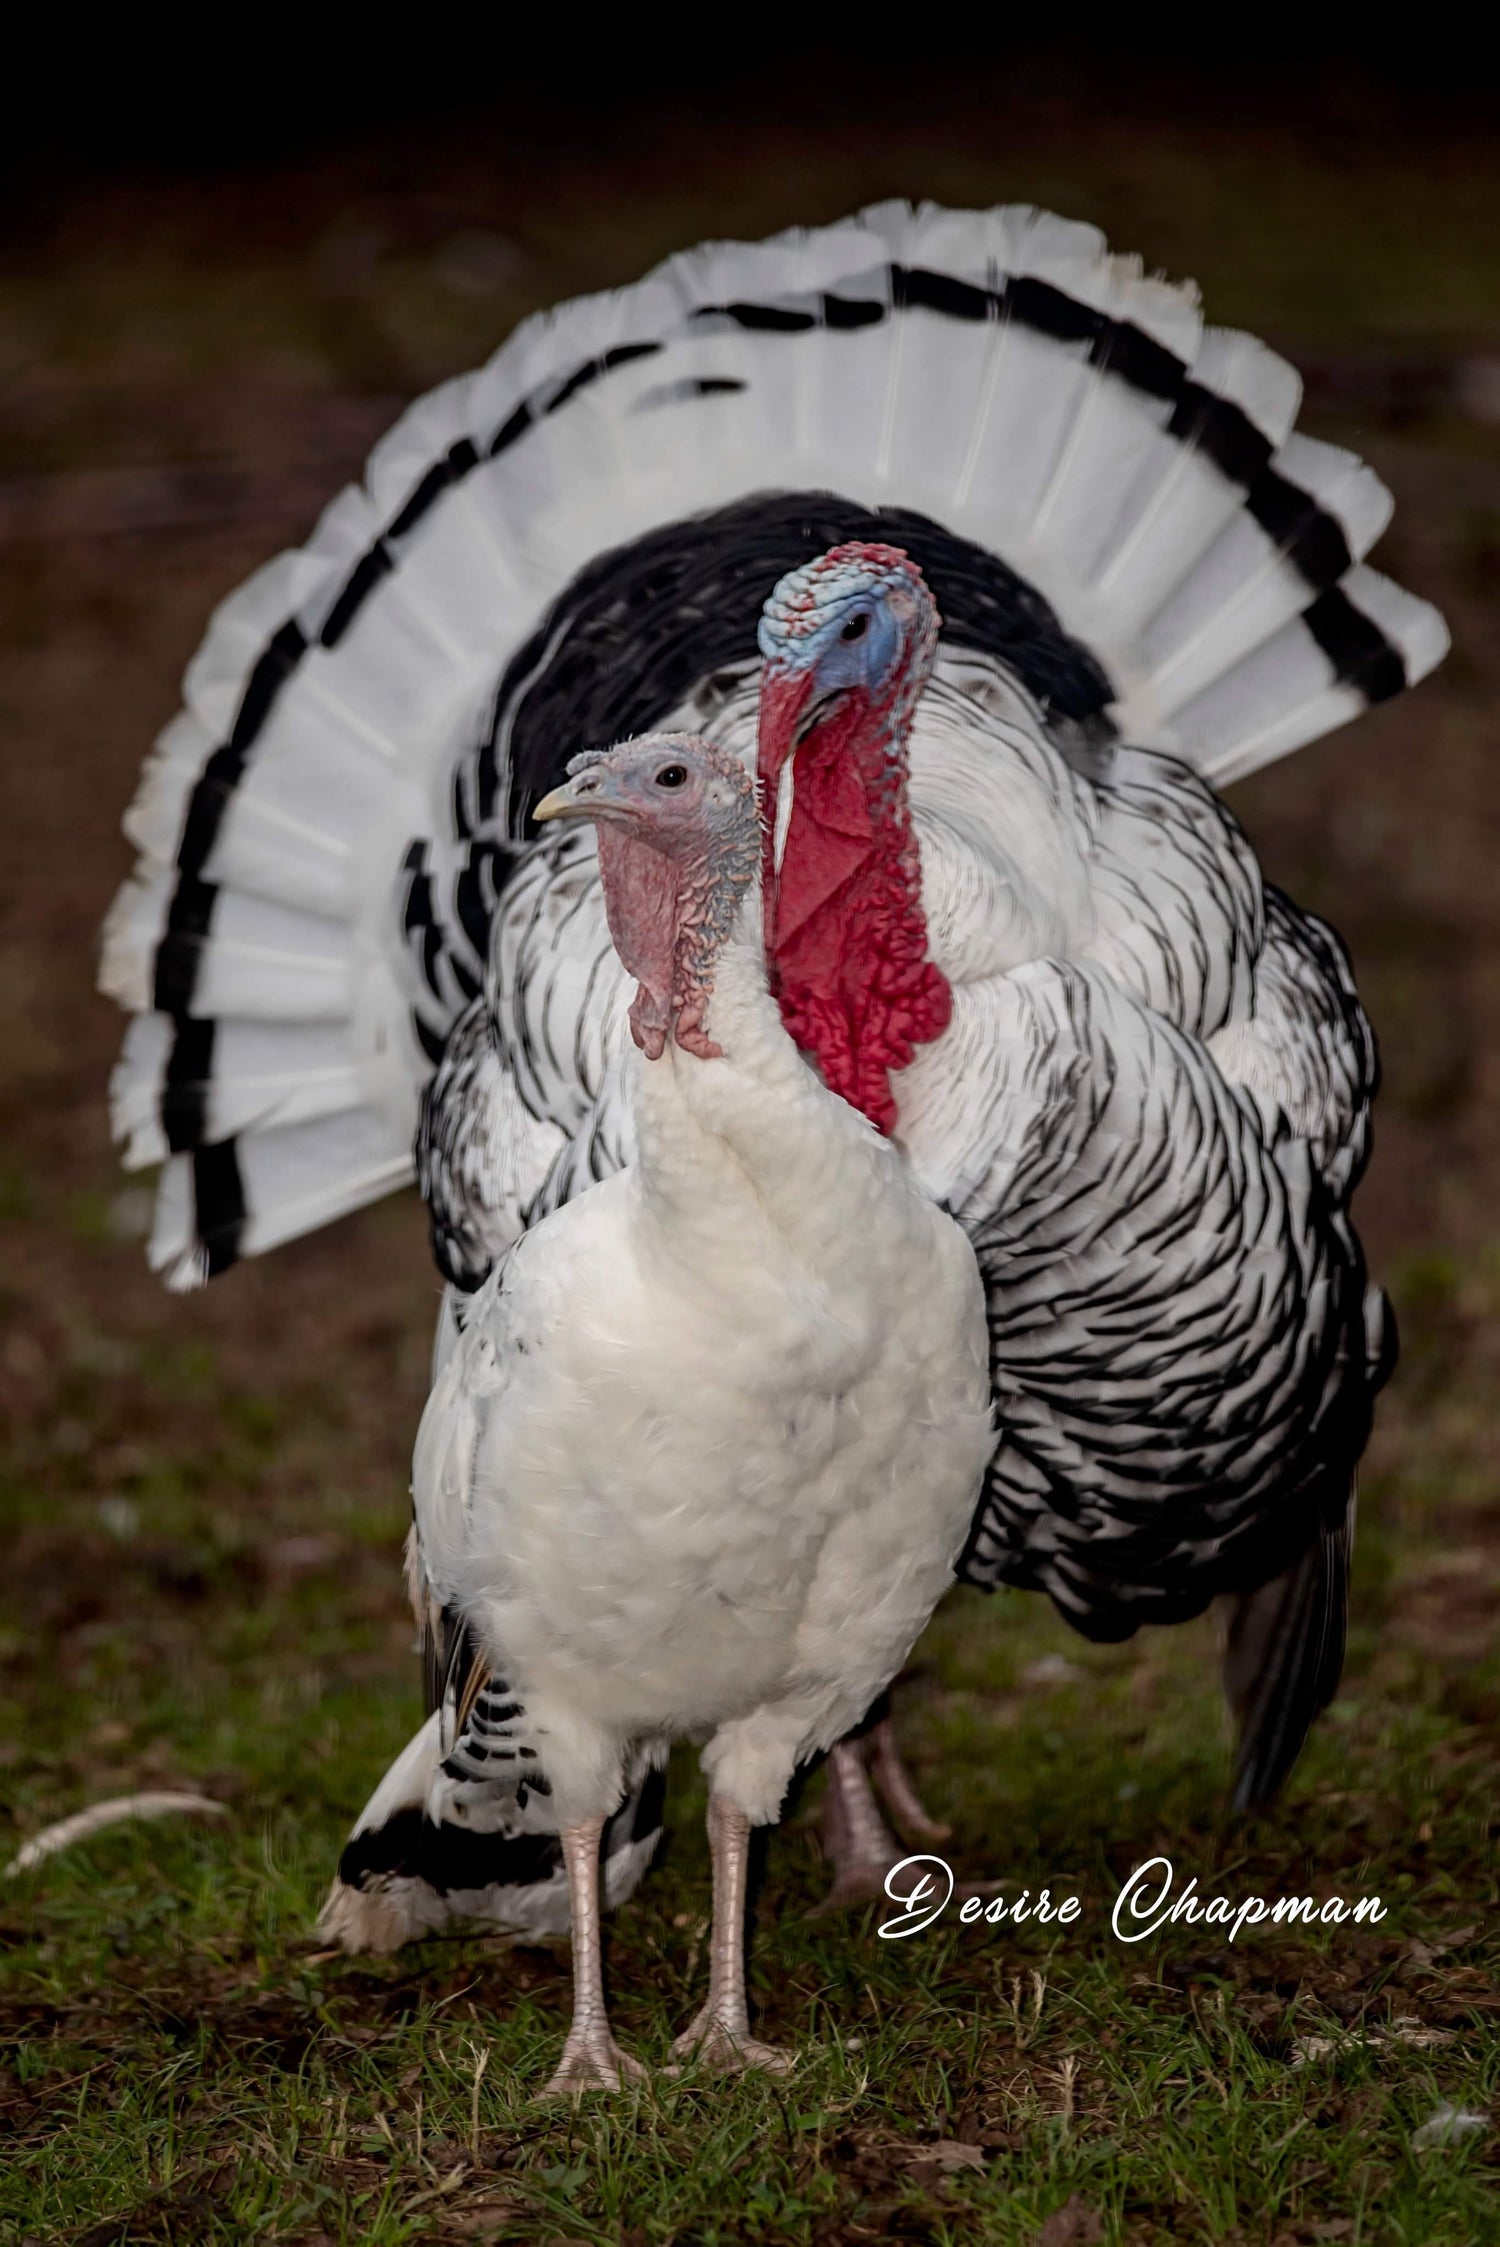
Hatching our Turkey eggs
Hatching turkeys requires specific conditions to ensure success.
1. Incubation Period: Turkey eggs typically take 28 days to hatch.
2. Temperature: Maintain a constant temperature of 100F (37.5C).
3. Humidity: Keep humidity levels at 50-55% during the first 25 days and increase to 65-70% during the final three days (lockdown).
4. Turning Eggs: Turn the eggs 3-5 times daily (or set to turn once per hour) to prevent the embryo from sticking to the shell. Stop turning and remove turning apparatus on day 25.
5. Lockdown: On day 25, stop turning the eggs, increase humidity, and avoid opening the incubator to maintain stable conditions.
6. Hatching: Turkey poults will begin to pip (break through the shell) around day 27 and hatch fully by day 28.
Problems with your hatch?
Wonky air sacks
Typically, funky air sacks are caused by rough shipment. If you candle your eggs prior to setting them, you should see an air sack at the big end of the egg, which is stable and attached. However, sometimes the shipping was extra rough and the air sacks become dislodged. In this case, its best to incubate them in an egg carton for at least the first 7 days, versus using your turner in your incubator. After 7-10 days the air sacks should stabilize. If they don't, the best thing to do is to keep the eggs big end up throughout hatch.
Gooey at hatch time
If your chicks are hatching "gooey" it is because the humidity was too high throughout incubation. You need to lower humidity next time. Unfortunately, it’s typically a fatal error of incubation and chicks are unable to survive. I cannot stress this enough... it’s better to undershoot humidity than to have too much. EXCEPT IN THE CASE OF WATERFOWL. It’s almost impossible to “drown” your waterfowl eggs. Humidity is essential for them to break through the shell.
Death rings
Death during incubation can happen for a variety of reasons, but inconsistent temperature throughout incubation is usually the main culprit. This can be caused by attempting to use a broody hen, or having cold spots in your system. Or potentially the location of your system is the issue, sunlight and air conditioning can cause inconsistent temperatures and a decreased hatch rate.
They got to lock-down, but didn't hatch...
Unfortunately this can happen.... its sad when you work so hard and then lose a hatch. Its best to try again! Dont lose hope. When your chicks get all the way to hatch and then cannot pip, its almost ALWAYS humidity. It is best to keep your humidity at 35-40% than to shoot for 50% and accidentally have them at 60%. Its best to have an internal hygrometer so that you can monitor it more accurately. Always try again! Just lower your humidity! Its ok.... I promise. <3
Again, this is the opposite case for waterfowl… if you get to hatch and they do not hatch, it is most likely that your humidity was TOO LOW. Their shells must be softened with the humidity throughout incubation or they simply cannot break through the tough exterior of a waterfowl egg shell. They are extra tough to prevention contaminants from entering the shell.
They didn’t develop, eggs are clear when I candle them…
Hatching eggs can be unpredictable, even when they’re fertilized. Not all eggs will develop, and shipping can further reduce hatch rates. A realistic expectation for shipped eggs is around a 50% hatch rate. To plan effectively, decide how many hens you’d like to have and multiply that number by four—that’s how many eggs you should order. If more hatch, great! You can sell the extras to neighbors and offset your costs. It’s always better to overestimate the number of eggs you’ll need rather than underestimate. Chickens, ducks, geese, and turkeys take months to mature, so having more options gives you a better chance of ending up with a strong, healthy flock. ❤️